Pages

Saturday 29 August 2015

Measuring the Volume of an Irregular Shape Solid Matter Based On the Archimedes Theory

This experiment is based on the Archimedes theory:

Archimedes was a Greek philosopher. One day the King ordered a gold crown from a goldsmith. He wanted to know if the goldsmith had cheated him, so he asked Archimiedes to find out. Archimedes found out the answer  when he went for a bath. The water overflowed when he jumped in. So he dipped the King's crown and a lump of gold with the same weight of the King's crown into the water. He found out that the lump of gold overflowed much more water than the King's crown, so he knew that the goldsmith had cheated the King.

I have a science experiment checking the mass of 4 stones, based on Archimedes's theory.

 These are the materials.
- A cup of water.
- An empty cyllinder.
- 4 different shapes of   stones. (numbered from left to right: 1st, 2nd, 3rd, 4th)


First, I fill the cyllinder with water until 10 ml. The picture at the left is one of the stones that's going to go inside the measuring cylinder.


This is the stone in the cylinder:

And this is the data:

1st stone's volume is 3 ml (when it is dipped the water level becomes 13 ml)

2nd stone's volume is 1ml  (when it is dipped the water level becomes 11 ml).

3rd stone's volume is 3 ml (when it is dipped the water level becomes 13 ml.) 

4th stone's volume is 3 ml (when it is dipped the water level becomes 13 ml)


My conclusion is: we can easily measure an irregular shape solid matter based on the Archimedes Theory by using this method.

Tuesday 25 August 2015

Parthenon Part 2: The Parthenon Frieze, and the Parthenon In Colour.

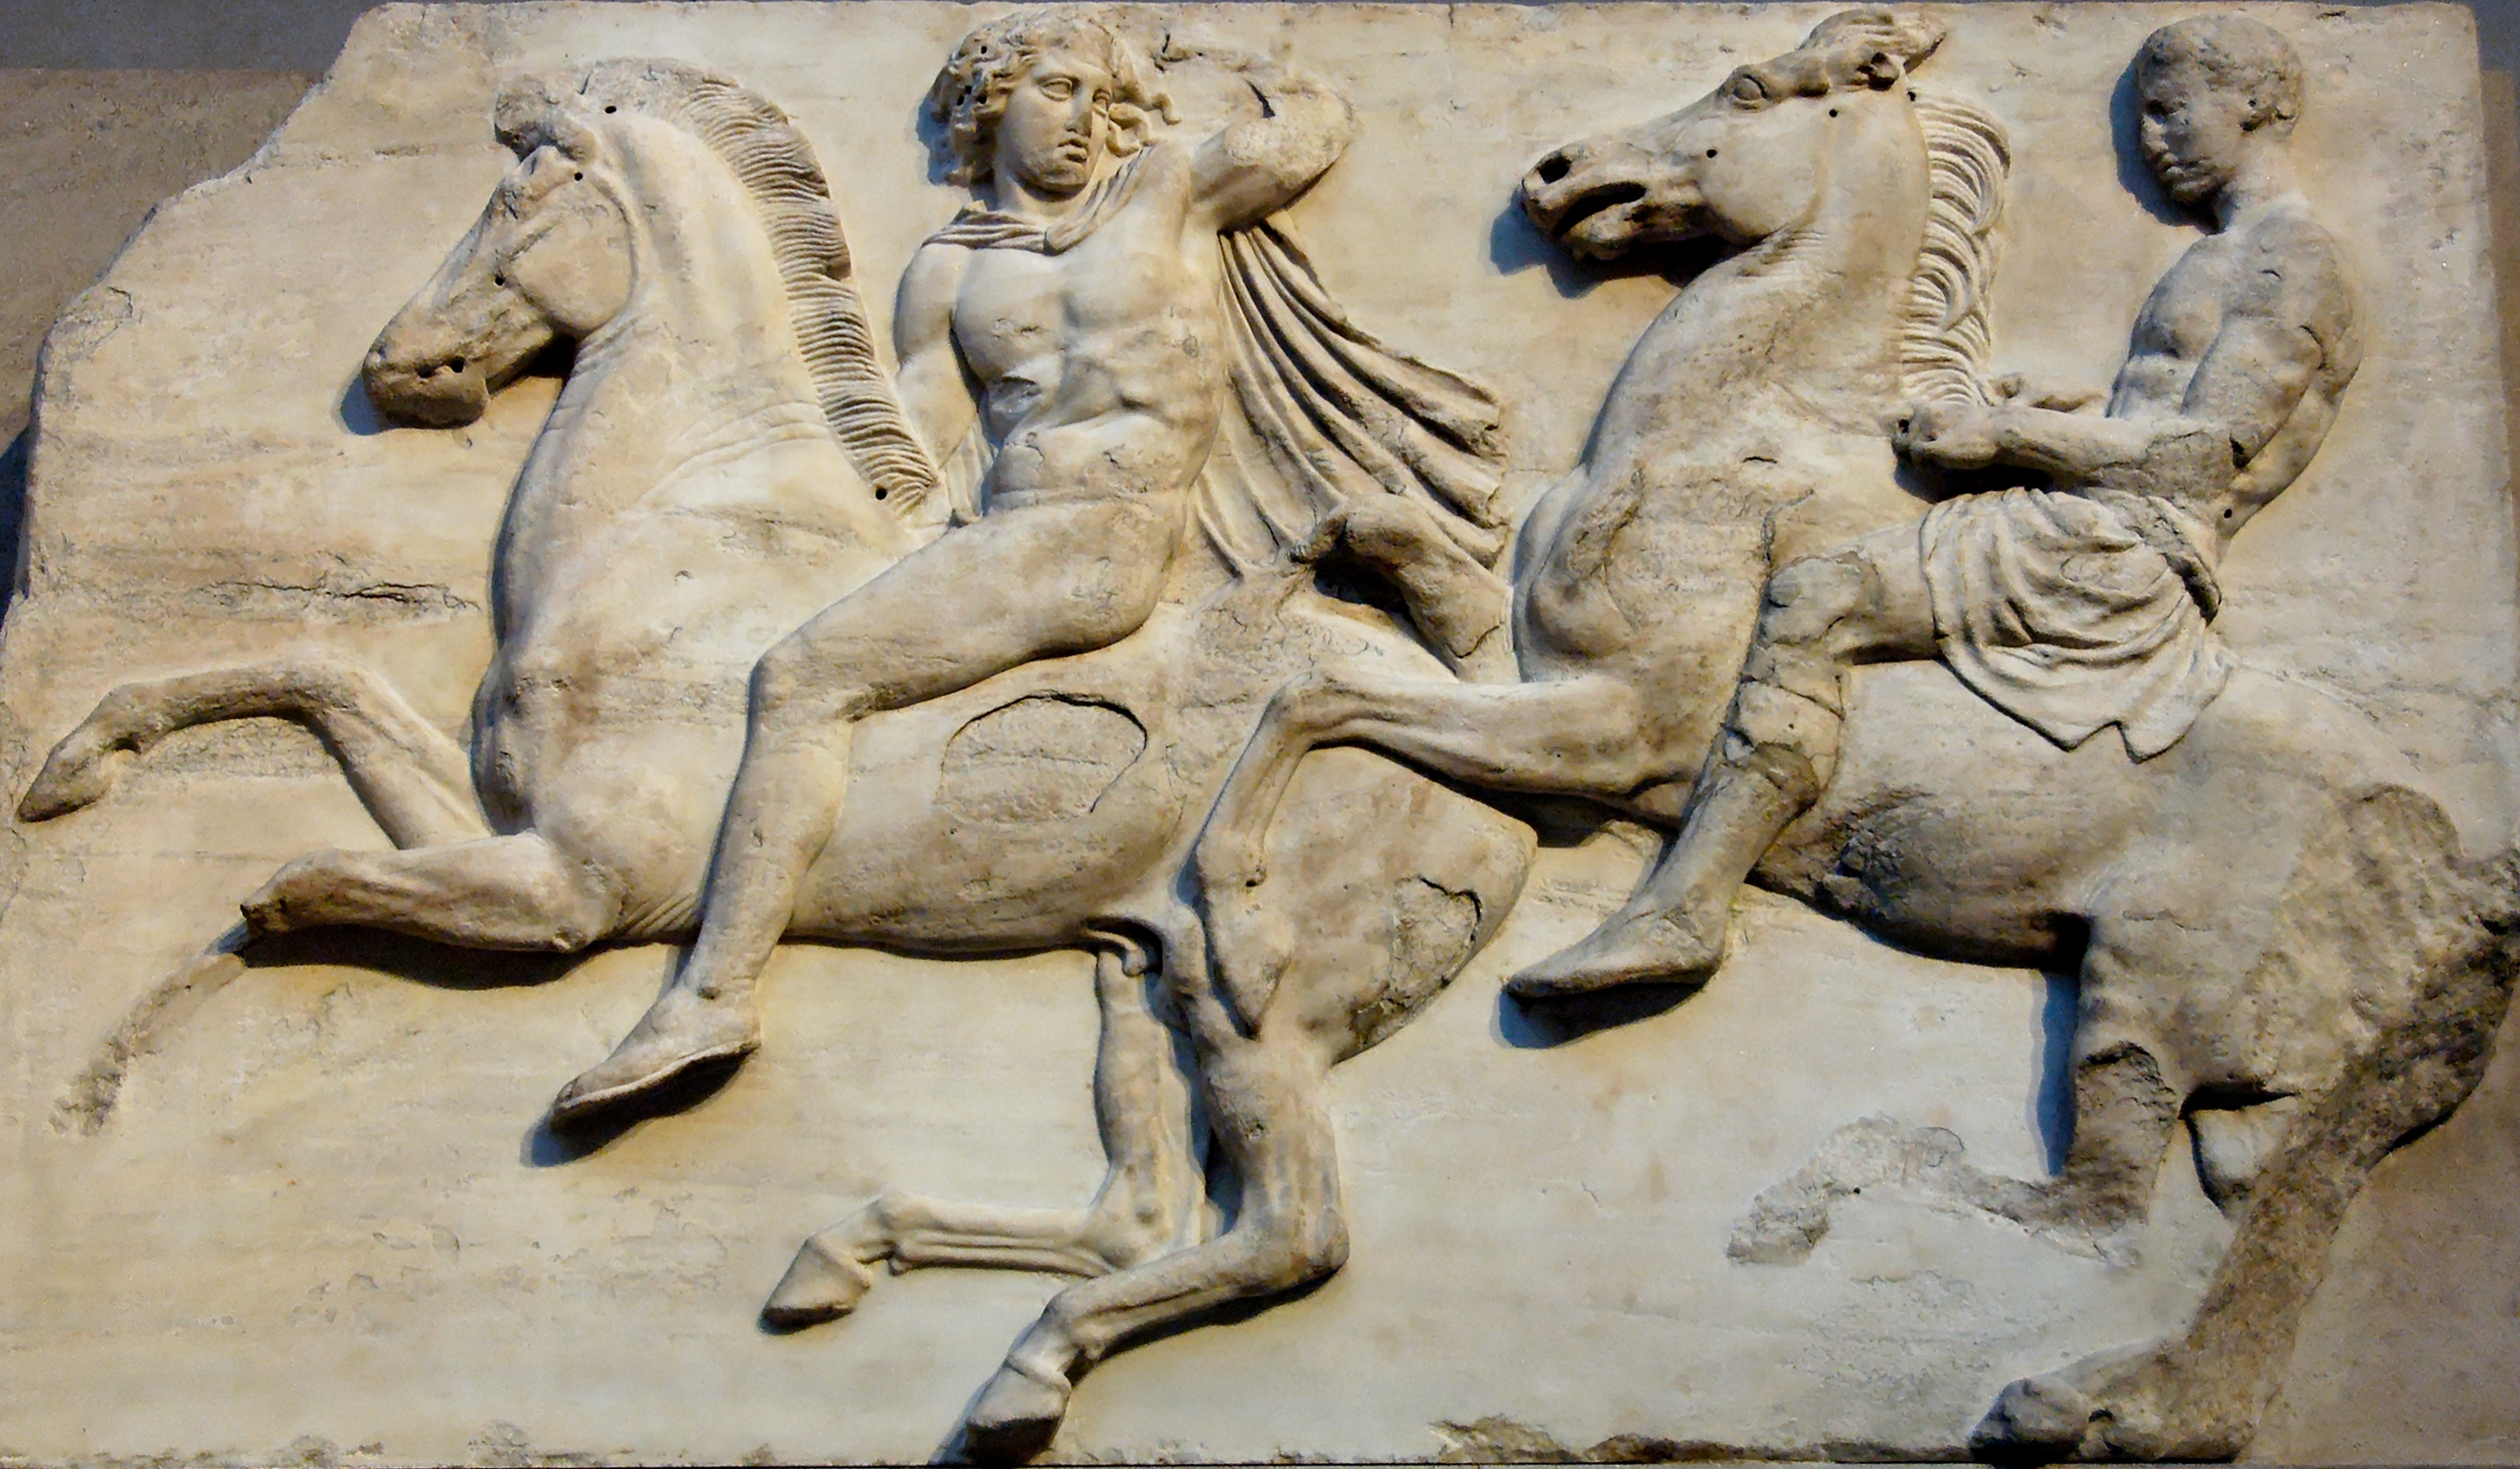
I have written about Parthenon Part 1, and now it's Parthenon Part 2! Here I'm going to write about the friezes, made out of marbles in the temple, which lined up on the walls, and also the marble sculptures in the Parthenon. Friezes are carved stone walls, like this:

https://en.wikipedia.org/wiki/Parthenon_Frieze
The friezes stories were taken from myths, mythical battles, and stories of heroes. The one in the left is a picture of a battle leader on horse waving his hand to say stop to his assistant. They walled up the walls in the Parthenon. 
http://www.athensguide.org/the-elgin-marbles-of-pathenon.html
                        
There are sculptures in the Parthenon too. These are the marble statues in the British Museum, taken from the Parthenon.  

 Now we're going to discuss about the Parthenon In Colour. Usually you see the sculptures and friezes, and temples from Ancient Greece greyish-white. But actually they had colours. They might look strange and much better without colour, because we're used to it. Here's how they look like with colour:

http://linneawest.com/tag/painted-replica
This is how the Parthenon looks like with colour.
And this is how a statue of an archer in colour looks like. Looks strange right? This picture was taken from:
http://www.smithsonianmag.com/arts-culture/true-colors-17888/

This is how Aphrodite, the goddess of beauty and love looks like in colours:

http://www.smithsonianmag.com/arts-culture/bringing-the-color-back-to-ancient-greece-80032254/

The scientists found out that the statues' colours by using an imaging technology called photo-induced luminescence to find the specks of pigment. Also by using infra-red light on it, it showed Egyptian blue colour, which is often found on the statues, such as on the belt of Poseidon's messenger Iris, and on the cloak of goddess Dione. 

http://www.dailymail.co.uk/travel/article-2676413/Athenss-Acropolis-Museum-celebrates-fifth-anniversary-digital-programme-colour-Parthenon-Marbles.html
                              This is one of the frieze in colour.

As time passes, the colours from the statues, buildings, and friezes faded away. These are some reasons why the Parthenon's colours faded away: because of war, changed into a church and mosque, and destroyed. That is also why you see the Parthenon in ruins now.

To be continued.

Sunday 16 August 2015

The Coming of the Greek Gods


http://www.talesbeyondbelief.com/greek-gods/zeus.htm

I wrote the beginning of Egypt's gods, godesses, and Egypt's myth here. Now, I'm going to tell you about the myth of the beginning of Greek's gods and godesses. The story was told before writing was made, so it was passed down orally, and sometimes the story got mixed up. Greece has many places, such as Athens, Sparta, and Olympia (that's well known for the place where the gods dwell), and if people from those places meet together and retell the story, all of them will be confused. Some people will say "Leto is Zeus's wife", while some say "No! Hera is Zeus's wife." In the ancient times, man used to have many wives, with the first as the chief wife, so finally it was concluded that Zeus had many wives, and it was known that Hera was the chief wife.

Let's Start.
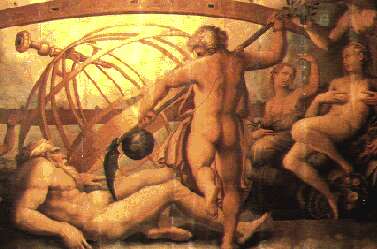
First, there was chaos all around. Then night and Erebus (darkness) were born, where death dwells. From them, love was born, Love created light and day. The first creatures born from it were Gaia (mother Earth) and Uranus (father Heaven). They had children who were the Hechatocheires ( monsters with fifty heads) , Cyclopses, and Titans. There were many Titans, and one of the Titans was Kronos. Kronos looked really gigantic (as how Titans did) and had a sickle, and with that sickle he wounded his father Uranus. From Uranus's blood that spilt into the land, there formed the giants and also his blood that spilt into the sea formed Aphrodite. Below was Kronos wounding Uranus.

http://www.the-dreamweaver.net/portal/en/articles/2-uncategorised/41-the-cycles-of-saturn-and-uranus
After that, Kronos ruled the world and married his sister Titan Rhea. His parents told him that one of his children would dethrone him, as how he dethroned his father. So, everytime his child was born, he would eat them. His children were: Hera, Demeter, Hades, Poseidon, Hestia, and Zeus. But all of them were eaten by Kronos, except Zeus, whom Rhea hid in a cave in Crete with the nymphs there to take care of him. Mother Earth Gaia also took care of him. The other smaller gods and soldiers clanged their swords when Zeus cried, so that Kronos would not hear Zeus's cry. After Zeus was hidden, Rhea wrapped a stone with baby clothes and gave it to Kronos to eat, making Kronos think that he had eaten Zeus.

Zeus grew up into an adult there, and with the help of a good Titaness Metis (or thought) who created a poisonous drink, made his father Kronos to vomit out all of his siblings. Then with the help of the Cyclops, (giants with one eye in the middle of the forehead), ten years Zeus and all of the inhabitants fought, and finally Zeus managed to put Kronos and the bad Titans in a prison under the earth called Tartarus.  


http://atlanteangardens.blogspot.com/2014/04/war-of-gods-and-titans.html
Only, not all Titans fought and not all Titans were bad. The sea itself was a Titan, and others too, who were kind and really helpful, such as Selene, the moon, and even Metis was a Titan, which we will discuss later. There were some other Titans too. The kind Titans who helped them were not put into Tartarus.

One of the Titan that was sent down to Tartarus had three sons, Atlas, Prometheus, and Epimetheus. Atlas was as wicked as his father, and he really looked like a Titan, so Zeus punished him by making him carry the world on his back (because he's wicked), while the other two would help Zeus manage the land.

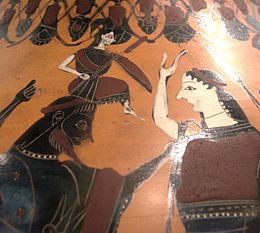
In the middle of the battle, Zeus fell in love with Metis, but he heard that the child that Metis would have would overpower him. Metis could change into any form, and Zeus tricked her to change into a fly. Then Zeus swallowed her. Eventually, he got a terrible headache, and asked someone to cut his head (Gods couldn't die) and out came Athena fully armed with clothes, a shield, and a spear. But she had no notion of overpowering her father. That's why in friezes, you can see Athena fighting the Titans. She killed a bad Titan named Pallas, and added his name into hers, so her name became Pallas Athena. Below is the picture of Athena coming out of Zeus's head on an ancient Greek pot.

https://en.wikipedia.org/wiki/Athena
https://www.studyblue.com/notes/note/n/arth-exam-2/deck/10710897
      And this is Athena fighting the titans. The head was stolen.

After the battle was won, they decided who would rule the air, the sea, and the rest. So it was decided that Zeus would rule over the whole Gods, Hades over the Underworld, Poseidon over the Sea, Hera (Zeus's wife) as the protector of women and marriage, Hestia, the goddess of the hearth, as hearth was very important to the Greeks, because fire was really important back then, and Demeter, the goddesss of the harvest.


That's the end of the myth.


Wednesday 12 August 2015

Red Bean Experiment

Activity 1.6

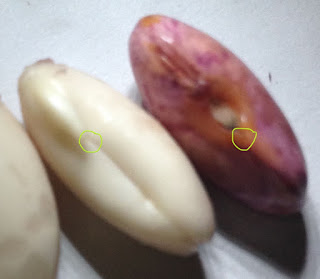
I have 4 red beans and I'm going to explore the inside of them. First I have to peel the skin off the red bean. The skin is called the testa. I have peeled two of the beans, and this is how they look like with the unpeeled beans. With the testa moved, then you can see the cotyledons, which are the creamy colored structures.


Then I open the cotyledon in the middle. I can see the embryo plant, which is the little thing at the top of the bean.


We can see the micropyle and scar in this zoomed photo. The yellow circles there show the micropyle. The scar is the circle in the middle of the red bean. Micropyle is a tiny hole where the pollen grew into an ovule and it allows the water absorption. The scar, or hilum is where the bean was attached to the plant's stalk during the development.

Monday 10 August 2015

Seeing the Flower Parts Under a Digital MIcroscope

I did this activity from the Science Checkpoint TB, activity 1.4.

I took several flowers from the garden and from nearby plants to see the parts under my digital microscope.

This is the first flower:


 I've no idea what flower this is
I named it Fluffy Pink Flower.

First peel the sepals. There are 5 sepals here


This is how the sepals look like under the microscope
Second: peel the petals off.
There are 14 petals.


This is the stamen. It doesn’t have any pollen yet.


This is the ovary being opened. That small thing poking out is the ovum.

Then...... we stop, because the rest of the parts are too small, and it's hard to manage it, so we changed to another flower

This is the second flower. It is much bigger than the first flower.


This is the polen of that red flower. There are so many!
At the right are the anthers.


And this is the filament.

But for the ovum and ovule, it's too small to be seen.

This is the third flower. It is very strange. All of the parts are visibly shown.

Below are the stamens.

And right below are the anthers.


And these are the filaments.


And this is the
stigma.


And this is the ovary cut open, but the ovule is accidently cut open.


Next is the fourth flower. The last flower!


And this is the flower's stamens, which are very beautiful.


And these are the anthers.

And this is the ovary carefully cutted open, and you can see the ovule there.

Tuesday 4 August 2015

My Homeschool Science Experiment: Testing a leaf for starch ( 2nd and 3rd attempt )

This is the second attempt:

We did the steps like the 1st attempt, only, we get different results.

This time we use a smaller and weaker leaf, and it looks like the chlorophyll from the leaves are released quite fast! The ethanol is quickly green in a few minutes, not like the tanjung leaf.
The result:

I think we have boiled the leaf too long, not only ridding off the membrane, but also boiling out the startch. The betadine shows that none of thoe two leaves have startch, Or maybe the leaves doesn't have any startch at all. The leaf at the left is as a fresh leaf as a control.

The third attempt:
At the left, it is the vegetable from the refrigerator for a few days. While the leaf at the right is freshly picked from a plant.
These leaves are boiled in a shorter time than the 2nd attempt.
I put those leaves into the test tube with ethanol, and the chlorophyll drained out quicker. It's so green in just a few minutes.

See the green? It is the greenest among all three trials. That means we broke the membrane really well.


 The freshly picked leaf contains startch, as the betadine turns black, while the leaf from the fridge contains very little startch.

My Homeschool Science Experiment: Testing a Leaf for Starch (1st attempt)

Yesterday I had an experiment about starch in the leaves. The resource was from my Science Checkpoint textbook.

Materials:
                                                                         
- Bunsen Burner                      
- Beaker                                    
- Forcep                                    
- Leaves (Tanjung leaves)
- Test Tube
- Ethanol
- Plate
- Pincers

Variable:
- Controlled variable: the time used for boiling the leaf
- Independent variable: the bread and the pineapple
- Dependent variable: the starch in the leaf

Steps:

1. Boil a beaker of water on a Bunsen burner.

2.  Put the leaves into the boiling water into the beaker.  This is to break the membrane that protect the startch.
3. After a few minutes, take out the leaves and put them on a plate. Turn off the bunsen burner.

4. Fill the test tube with ethanol.

5. Put the boiled leaves into the test tube. Put the test tube into the hot water in the beaker. Then wait until the green colour from the chlorophyll goes out into the water. The ethanol will boil in the hot water

6. Once you think most of the chlorophyll goes out, take the test tube from the hot water of the beaker, then pour out the water. We have to drain out the chlorophyll to make us easier in checking the colour changing.

7. Take the leaves out, then dip the leaves back into the water in the beaker. This is to soften it.

8. After that drip some iodine over it to see if there's startch in it. If it turns blue black, then it means that part has startch in it. This can be tricky, because not all plants keep their startch in the leaf. And also, for some leaves, if you put it into the water again, the startch might be washed awaye.


These are the materials. The pineapple and bread are the parameter colour (bread for starch and pineapple for non starch)
Dripping betadine into the pineapple and bread. We don't have iodine, so we use betadine, as betadine has more than enough iodine.


See? The bread shows black colour, means that was consisted of starch, but the pineapple still shows the betadine colour, because pineapple doesn't have any startch.


The first trial:
First I fill the beaker with water, then turn on the Bunsen burner, puting the beaker on top on it.

Putting the leaves into the boiled water in the bunsen burner, then taking it out after a few minutes, after that I put the leaves onto the plate.

1. Filling the test tube with ethanol
2. Putting the leaves into the test tube.
3. Putting the test tube into the beaker of hot water, then taking it out again.


This is the closer look of how it looked like. The water is starting to become green.

Pour the water filled with chlorophyll out into a container, then I take out the leaves from the test tube and put it back into the boiling water in the beaker.


Putting back the leaves into the beaker.

After I dripped the betadine onto the leaf,it didn't show any colour change, because the membrane is still too strong and blocks the startch from showing itself. We need to boil it much longer.

Conclusion: We fail for the first attempt because the leaf's membrane from this leaf is too strong, and we don't boil it long enough. The boiling process in ethanol also failed in draining  the chlorophyl out  (we can see the leaf was so green instead of yellow or pale green).
We have to redo the experiment.